Navigate
Products
Download
eShop
Upgrade
About
Training
Support

Navigate
Products
Download
eShop
Upgrade
About
Training
Support
This tutorial explains how to uninstall current version of Embird and how to install Embird either 32-bit or 64-bit version, Studio plug-in (containing Digitizing Tools and Sfumato Stitch) and Alphabet plug-ins.
If you do not have any Embird on your PC yet, please skip the steps which explain uninstallation of previous version and start with step 10 below.
If you have 64-bit type of Windows (see Picture No. 9 below) and you want to install 64-bit version of Embird but keep also 32-bit Embird, please skip the steps which explain uninstallation of previous version and start with step 10 below. However, in such a case you should first disable Iconizer in 32-bit Embird - see also Iconizer plug-in tutorial.
Do the following to uninstall previous version of Embird (typically Embird 2010):
1 - Close Embird if you are running it.
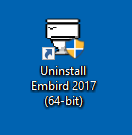
2 - Click "Uninstall Embird" icon on Desktop (Picture No. 1).
Picture No. 1
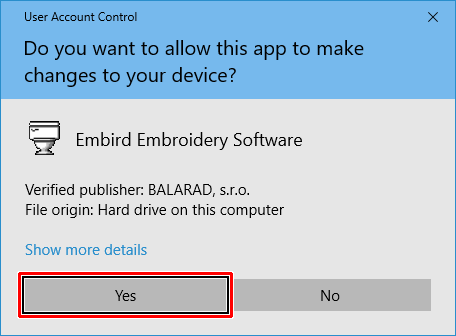
3 - The User Account Control mechanism will warn you that this program will make changes to your computer (Picture No. 2). Click "Yes" button.
Picture No. 2
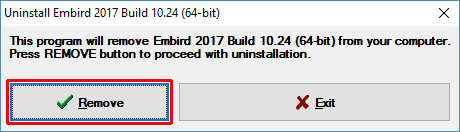
4 - The "Uninstall Embird" dialog box will appear on the screen. Click "Remove" button to start the removing of Embird from your computer (Picture No. 3)
Picture No. 3
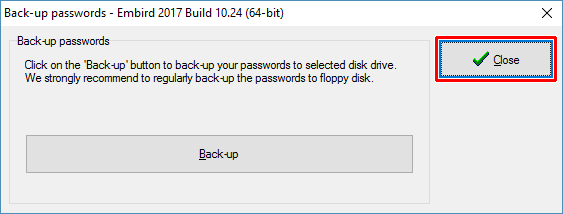
5 - In next window it is possible to back-up your passwords for Embird (Picture No. 4). Click "Back-up" button, this will create the PASSWORD.KLC file on chosen location.
6 - Click "Close" button to close the back-up passwords window and continue with uninstallation (Picture No. 4).
Picture No. 4
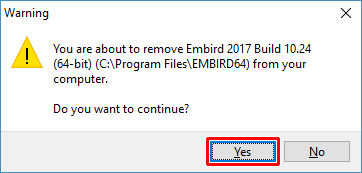
7 - Confirm the removing of Embird by selecting "Yes" button (Picture No. 5).
Picture No. 5
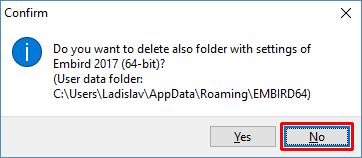
8 - In the next dialog box it is possible to delete the folder with settings and user data files of Embird (Picture No. 6). This will remove all configuration settings, but also custom thread catalogs if you had created some by your own. Click "No" button.
Picture No. 6
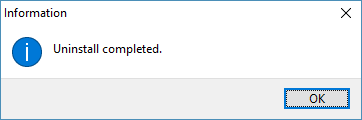
9 - Once the uninstallation process is finished it will show the status message (Picture No. 7). In some cases it might require also restarting of Windows - please do it before installing new Embird.
Picture No. 7>
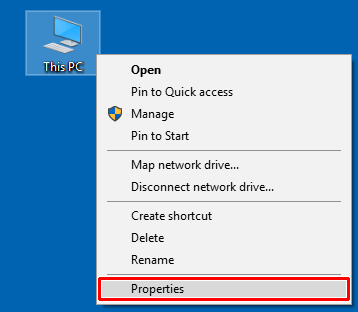
10 - Find out which version of Windows you have on your PC - right click "Computer" icon on your Desktop and select "Properties" menu (Picture No. 8).
Picture No. 8
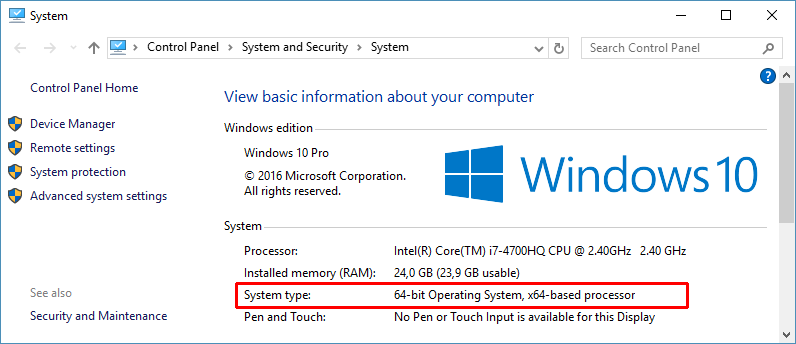
11 - In this case it is 64-bit Operating System (Picture No. 9). It is possible to install either 64-bit Embird or 32-bit Embird, or both versions (but only one should have the Iconizer plug-in enabled). If you have 32-bit Operating System (almost all Windows XP, some Windows Vista and Windows 7) then it is possible to install only 32-bit Embird. Please download the suitable installation files from https://www.embird.com/sw/embird/newdown.htm. Download also installation files of Studio plug-in (also available as 32-bit and 64-bit) and/or Alphabet plug-ins which you use (the same installation files for 32-bit and 64-bit version).
Picture No. 9
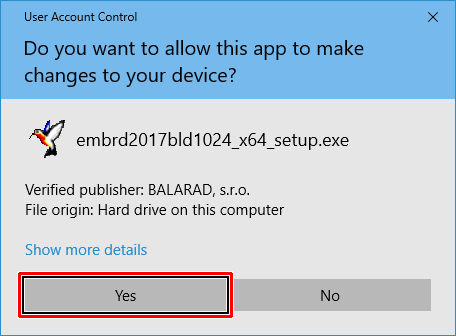
12 - Run the downloaded installation file of Embird. The User Account Control mechanism will warn you that this program will make changes to your computer (Picture No. 10). Click "Yes" button.
Picture No. 10
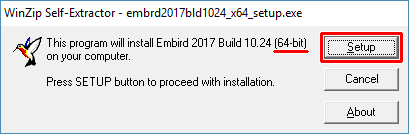
13 - Make sure that it is the correct version - 64-bit in this case (Picture No. 11). Click "Setup" button to continue.
Picture No. 11
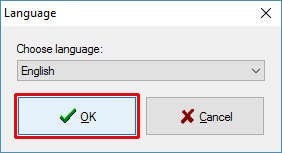
14 - Choose your language (Picture No. 12).
Picture No. 12
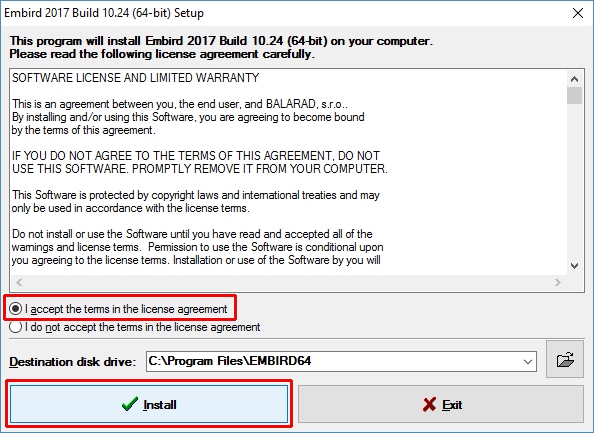
15 - Read the license agreement and if you agree please click "I accept the terms in the license agreement" option (Picture No. 13). Check the folder into which the main Embird program will be installed and write it down for later installation of plug-ins. It is "C:\Program Files\EMBIRD64" in this case. Click "Install" button to continue.
Picture No. 13
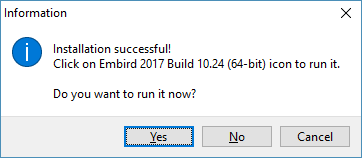
16 - All necessary files will be copied to chosen folder. The installation of main Embird program is completed (Picture No. 14). Now it is necessary to install optional plug-ins if you use them - Studio plug-in (containing Sfumato Stitch and Digitizing Tools) and/or Alphabet plug-ins.
Picture No. 14
17 - Run the downloaded file from step 11 containing Studio plug-in. The User Account Control mechanism will warn you that this program will make changes to your computer (Picture No. 15). Click "Yes" button.
Picture No. 15

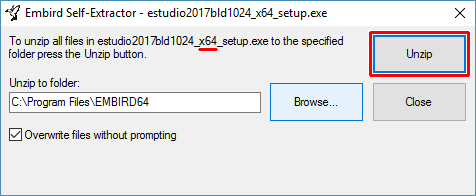
18 - Make sure that you have the right version: x64 means 64-bit version, x86 means 32-bit version (Picture No. 16). Also, make sure that the "Unzip to folder" box contains the same folder as is was chosen in step 15 for installation of main Embird program, i.e. "C:\Program Files\EMBIRD64" in this case. Click "Unzip" button to install Studio plug-in.
Picture No. 16
 noBord"
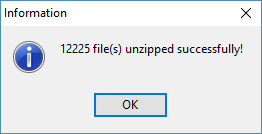
19 - Wait until all Studio plug-in files are unzipped into main Embird program folder. Click "OK" button to close the box (Picture No. 17).
Picture No. 17

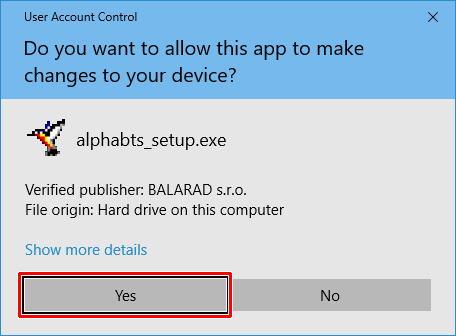
20 - Run the downloaded file from step 11 containing Alphabet plug-in. The User Account Control mechanism will warn you that this program will make changes to your computer (Picture No. 18). Click "Yes" button.
Picture No. 18
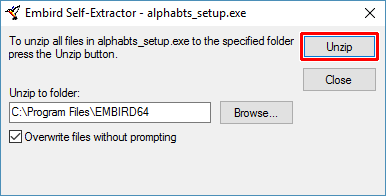
21 - Alphabet plug-ins are the same for 32-bit and for 64-bit Embird version. Make sure that the "Unzip to folder" box contains the same folder as is was chosen in step 15 for installation of main Embird program, i.e. "C:\Program Files\EMBIRD64" in this case. Click "Unzip" button to install Alphabet plug-in (Picture No. 19).
Picture No. 19
22 - Wait until all Alphabet plug-in files are unzipped into main Embird program folder. Click "OK" button to close the box (Picture No. 20).
23 - Repeat steps 20 and 21 for every Alphabet you need to install.
Picture No. 20