Navigate
Products
Download
eShop
Upgrade
About
Training
Support

Navigate
Products
Download
eShop
Upgrade
About
Training
Support
This tutorial explains how to install and run Embird. It is supposed that user is logged into Windows as Administrator, and all other settings are left at their default values, including User Account Control setting (UAC). Also, it is supposed that you already have received an e-mail from us with PIN for quick registration, or that PASSWORD.KLC file containing your passwords is stored on USB memory key and this key is connected to PC, so the file is visible as e.g. "F:\PASSWORD.KLC" file.
Note: Before you start installing Embird and/or its plug-ins, please find out the type of your Windows. It is either 32-bit or 64-bit version. Download appropriate installation file of main Embird program and optional plug-ins from https://www.embird.com/download.htm.
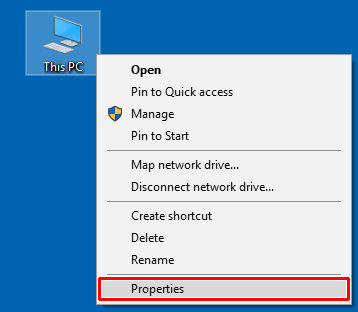
1 - Find out which version of Windows you have on your PC - right click "Computer" icon on your Desktop and select "Properties" menu (Picture No. 1).
1. Find out Windows version
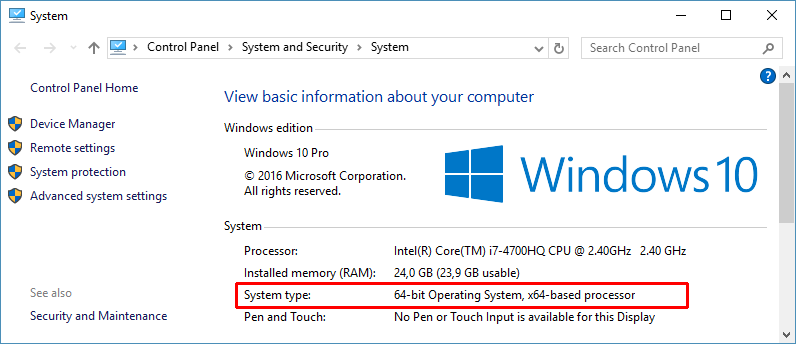
2 - In this case it is 64-bit Operating System (Picture No. 2). It is possible to install either 64-bit Embird or 32-bit Embird, or both versions (but only one should have the Iconizer plug-in enabled). If you have 32-bit Operating System (almost all Windows XP, some Windows Vista and Windows 7) then it is possible to install only 32-bit Embird.
2. Operating system type
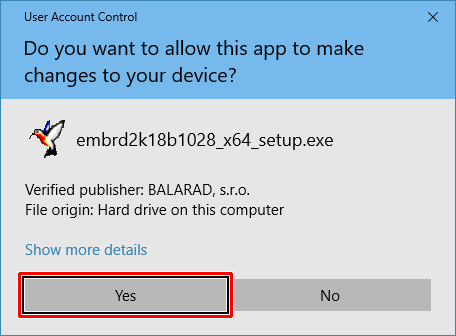
3 - Run the downloaded installation file of Embird. The User Account Control mechanism will warn you that this program will make changes to your computer (Picture No. 3). Click "Yes" button.
3. UAC warning
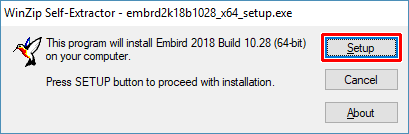
4 - The first screen of Embird installer will appear on screen (Picture No. 4). Click "Setup" button.
4. Click Setup button
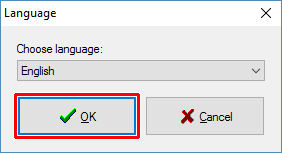
5 - Next screen allows you to choose the language (Picture No. 5). Click "OK" button to continue.
5. Select language
6 - Read the license agreement and then select option "I accept the terms in the license agreement" and click "Install" button to continue (Picture No. 6).
6. License agreement

7 - Wait until the installation process is finished (Picture No. 7).
7. Installation process finished
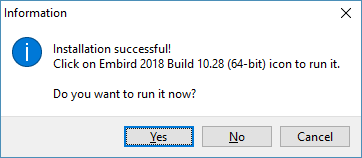
8 - Installation program should create the shortcuts on your Desktop (Picture No. 8).
8. Desktop shortcuts
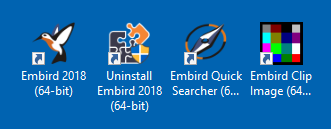
9 - Double click Embird icon to run it.
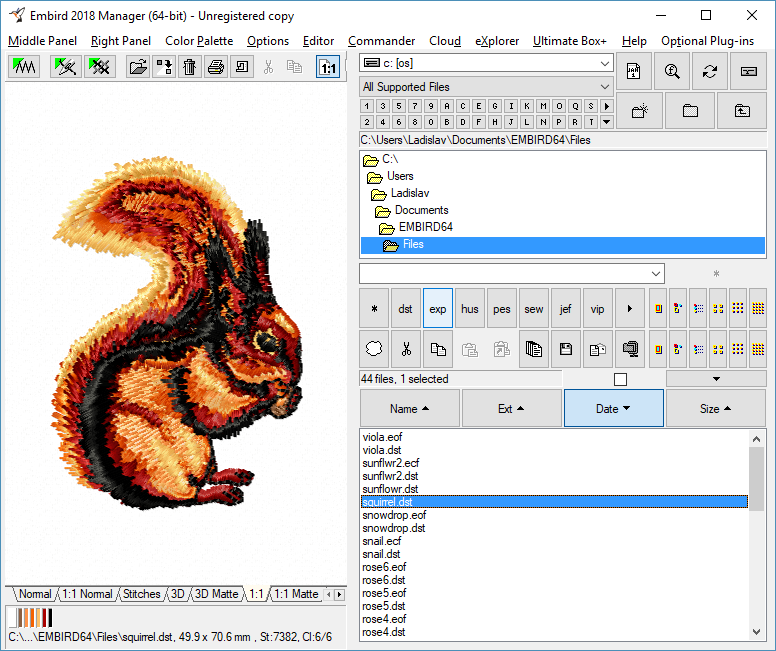
10 - Embird will start. It is unregistered copy (Picture No. 9), so it is necessary to insert the password for main Embird program and plug-ins to change the demo (evaluation) version into full version.
9. Unregistered copy of Embird
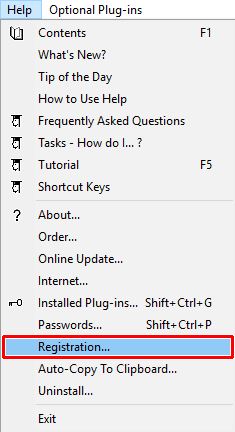
11 - Select menu "Help > Registration" (Picture No. 10).
10. Menu "Help > Registration"
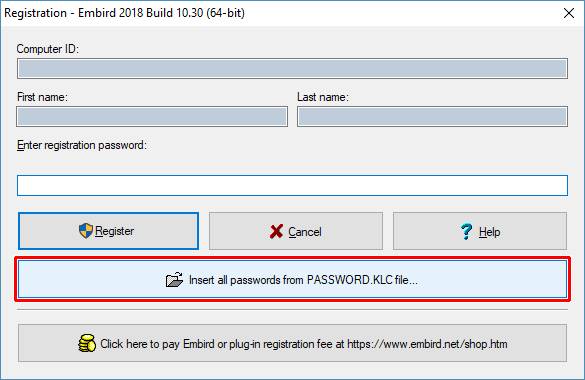
12 - Follow the steps shown in tutorial Quick Registration with PIN in Embird 2022, 2021 and 2020 to insert your registration passwords into Embird. Or, if you have back-up copy of PASSWORD.KLC file, click "Insert all passwords from PASSWORD.KLC file" button and select the location with PASSWORD.KLC file (Picture No. 11).
11. Registration dialog box
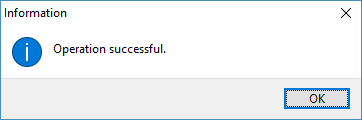
13 - The passwords will be loaded into program (Picture No. 12). Please wait several seconds.
12. Passwords are validating

14 - After accepting passwords, the online activation of Embird is required. Click "Activate Embird Software" button (Picture No. 13).
13. Embird activation

15 - After a short while, the activation process should be finished (Picture No. 14). Click "OK" button.
14. Activation finished
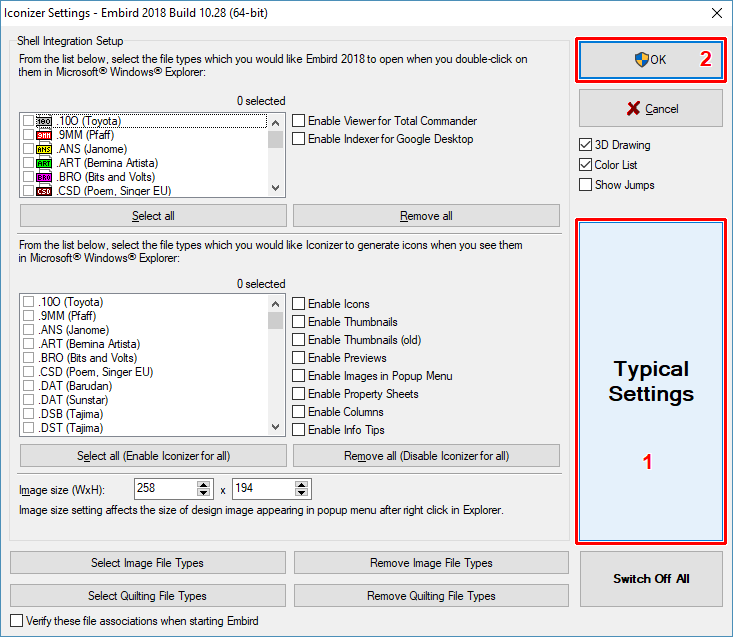
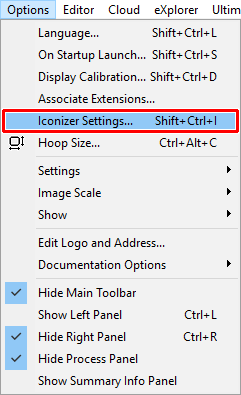
16 - To enable Iconizer plug-in please select menu "Options > Iconizer Settings" (Picture No. 15).
15. Iconizer Settings
17 - A dialog box with Iconizer plug-in settings will appear on screen. Click "Typical Settings" button and confirm these settings by selecting "OK" button (Picture No. 16).
18 - Launch Windows Explorer and check the icons of embroidery designs.
16. Typical Settings