Navigate
Products
Download
eShop
Upgrade
About
Training
Support

Navigate
Products
Download
eShop
Upgrade
About
Training
Support
This tutorial explains how to use the Iconizer plug-in. Iconizer plug-in works together with Microsoft® Windows® Explorer, the application which is present in every installation of Windows version 95 and above.
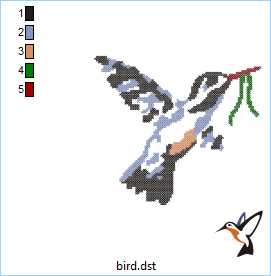
The principle of Iconizer plug-in is simple: Normally, when you run Explorer and you are not using the Iconizer plug-in, each design file is represented by universal "type" icon (Picture No.1). Registered Iconizer plug-in will show a small icon of the design contents instead (Picture No. 2). This allows you to browse and sort your designs easily, because you can see the contents of each design file while using all the great features of Microsoft® Windows® Explorer.
1. Type icon 2. Design icon
Note: Iconizer plug-in supports only those embroidery formats and image formats which are supported in Embird software.
Please read the guide below to find out how to install and use the Iconizer plug-in:
1 - The installation file for Iconizer plug-in is contained in Embird setup file, so there is no special file to be downloaded.
2 - Run "Embird" and click on the "eXplorer" menu. This will launch Microsoft® Windows® Explorer.
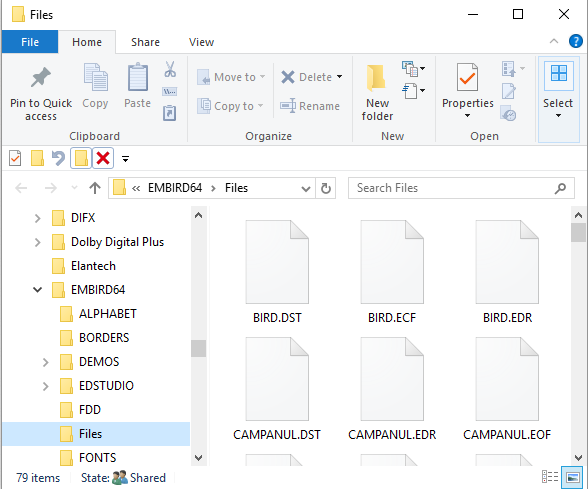
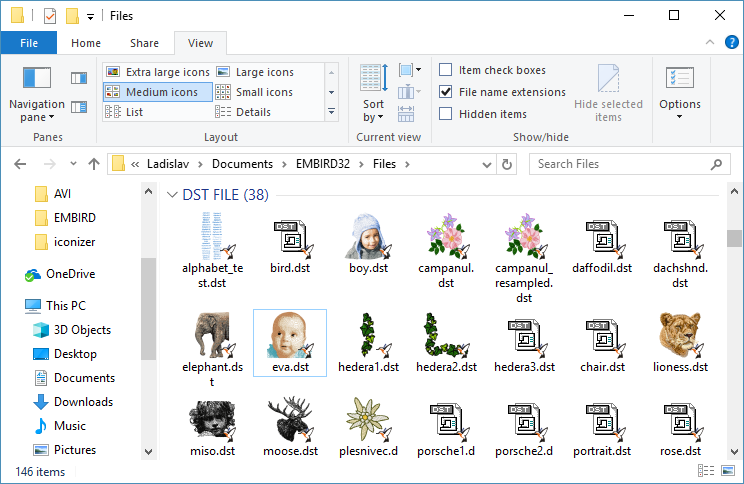
3 - In Explorer, browse to the folder with the designs, e.g. to "C:\Program Files\EMBIRD64\FILES" folder (or into "C:\Program Files(x86)\EMBIRD32\FILES" folder if you use 32 bit version). This folder contains some free .DST designs, and because Iconizer plug-in is not enabled for .DST extension, the designs will look like those on Picture No.3.
3. Iconizer Disabled
4 - Close the Explorer window.
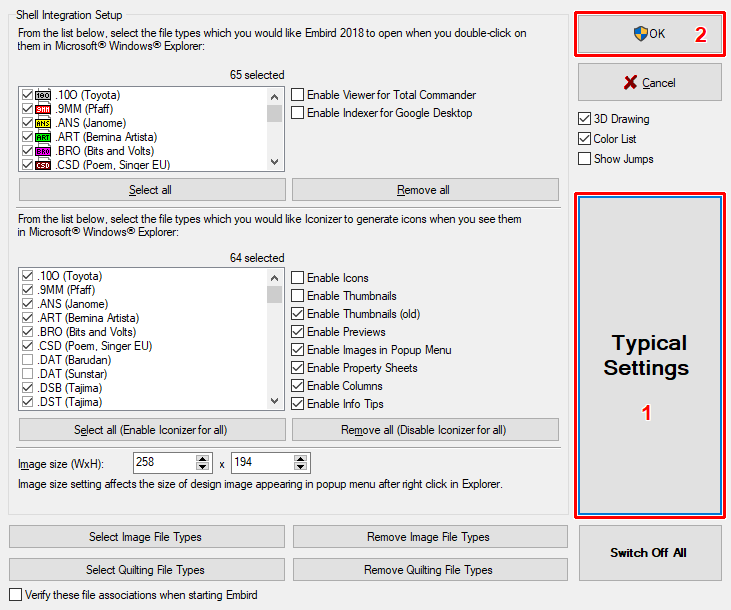
5 - In Embird, select "Options" > Iconizer Settings" menu. A dialog box will appear on screen (Picture No. 4). You will see that there are 2 lists of extensions in this box. The first list allows you to choose which files should be open in Embird when you double-click on them in Explorer. The second list allows you to choose which files will be handled by Iconizer. Clik large button "Typical Settings" and confirm new settings by selecting "OK" button.
4. Iconizer Plug-in Settings
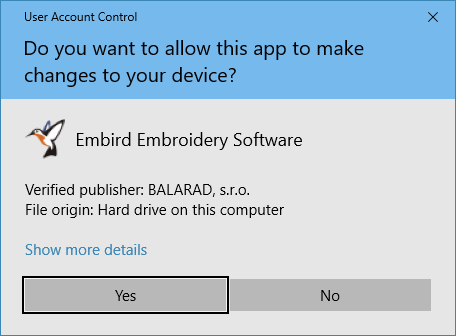
6 - The User Account Control mechanism will warn you that this program will make changes to your computer (Picture No. 5). Click "Yes" button.
5. UAC Warning
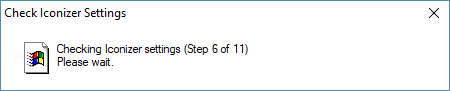
7 - Elevated Embird application will write the new settings to Windows registry database (Picture No. 6). Please wait.
6. Writing to Windows Registry
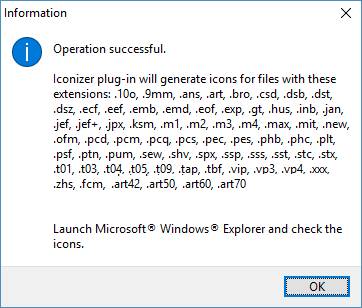
8 - After a short white, the result of operation is shown on the screen (Picture No. 7).
7. New Iconizer Settings Applied
9 - Click "eXplorer" menu in Embird to launch the Explorer again.
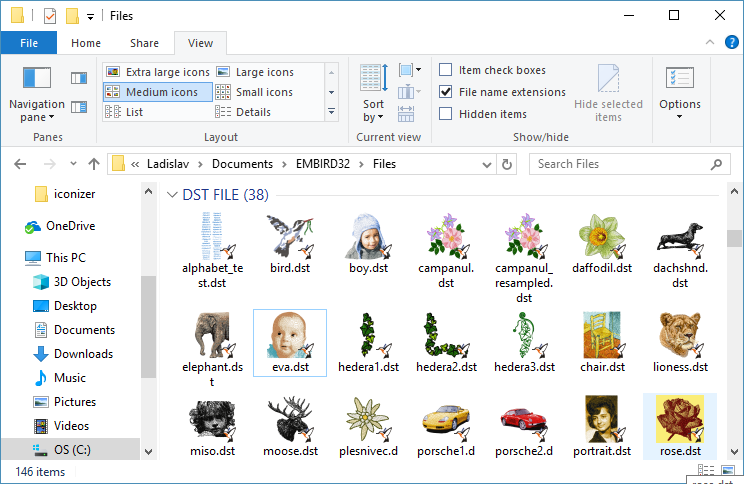
10 - In Explorer, browse to the "C:\Program Files\EMBIRD64\FILES" folder again (or into "C:\Program Files(x86)\EMBIRD32\FILES" folder if you use 32 bit version). Now the Iconizer plug-in is enabled and the designs will look like those on Picture No. 8.
Note: You must purchase and register the copy of Iconizer plug-in, otherwise only several icons will be showing designs contents. All the others will display the universal "type" icon (Picture No. 8, compare it with Picture No. 9 showing all icons). You can purchase the Iconizer plug-in at https://www.embird.com/user.htm. Then use the "eXplorer" menu to enter the registration number into the Iconizer . This will display a dialog box allowing you to type in the registration number. See also tutorial at https://www.embird.com/sw/embird/tutorial/inpswd/inpswd.htm
8. Unregistered Iconizer Plug-in
9. Registered Iconizer Plug-in
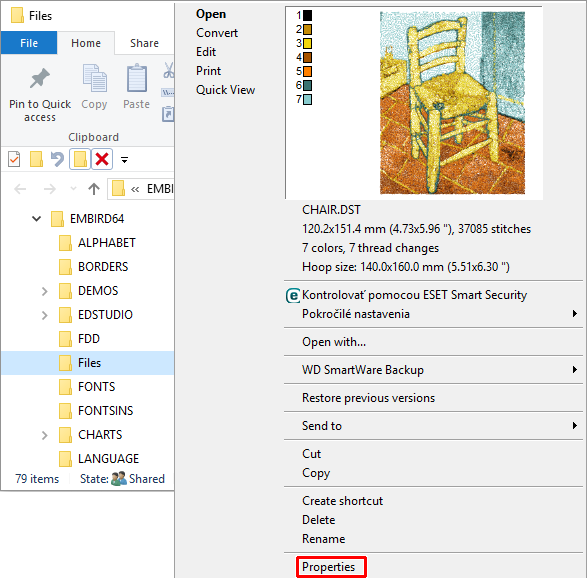
11 - When you move the mouse cursor to some of the designs in Explorer, and you depress the right mouse button, the popup menu will appear (Picture No. 10). There are four commands available - "Open", "Print", "Convert" and "Edit". You can choose any of them to launch Embird and perform the operation. In case you have enabled the Iconizer for this design format, you will also see the design preview image in the popup menu. The size of this image can be changed in "Options > Iconizer Settings" menu in Embird (Picture No. 4). The Iconizer in popup menu can be disabled by unchecking the "Enable Images in Popup Menu" option in "Iconizer Settings" menu (see Picture No. 4 above).
10. Image in Popup Menu

Troubleshooting: Please see also FAQ regarding Iconizer at https://www.embird.com/faq.htm
Tips:
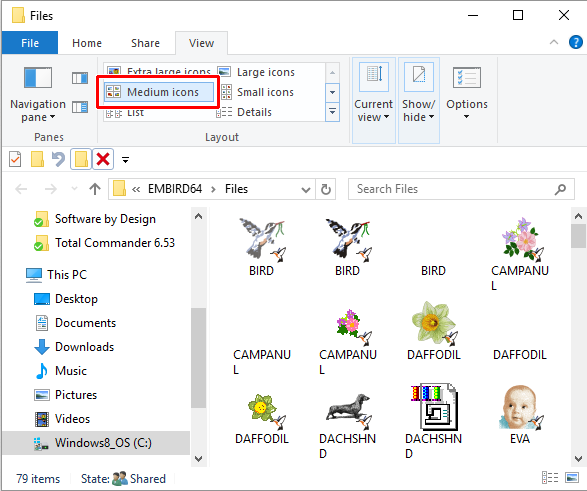
12 - Use the "Medium Icons" view mode (or larger) in Explorer to obtain the better results, otherwise the icons are too small. In Explorer, click on "View " command to change the icon size. (Picture No. 11).
11. Icon Size
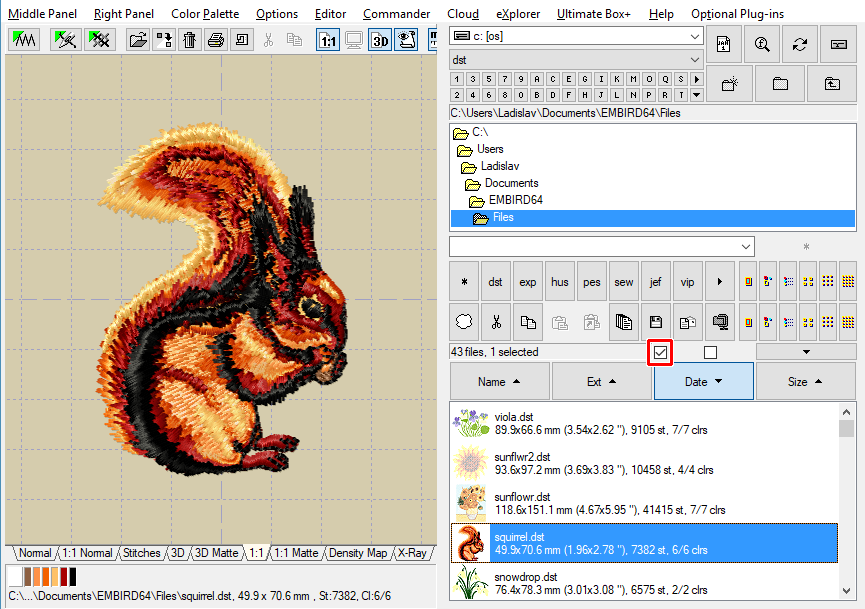
13 - Registered users of Iconizer plug-in can also allow displaying of design icons in "Files" box located on right panel in Embird. (Picture No. 12). Use the small check-box above "Files" box to allow this option, or the "Preview Files" command in "Right Panel" menu.
12. Design Icons in File List
14 - If you have the same design stored in different embroidery formats you may need to know the file extension to be able to recognize its format (Picture No. 13). In Explorer, select "View" menu and switch ON the setting "File name extensions" (Picture No. 14).
13. Design in Various Embroidery Formats


14. File Name Extensions

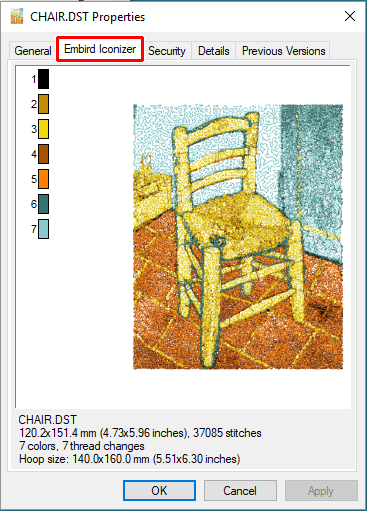
15 - When you right click on design in Explorer and choose "Properties" item (Picture No. 15), a dialog box will be displayed with a new tab - "Embird Iconizer". This new sheet will contain the design preview image and properties (Picture No.16). The "Embird Iconizer" tab sheet can be disabled by unchecking the "Enable Property Sheets" option in "Iconizer Settings" dialog box (see Picture No. 4 above).
15. Select Properties
16. Embird Iconizer tab