Navigate
Products
Download
eShop
Upgrade
About
Training
Support

Navigate
Products
Download
eShop
Upgrade
About
Training
Support
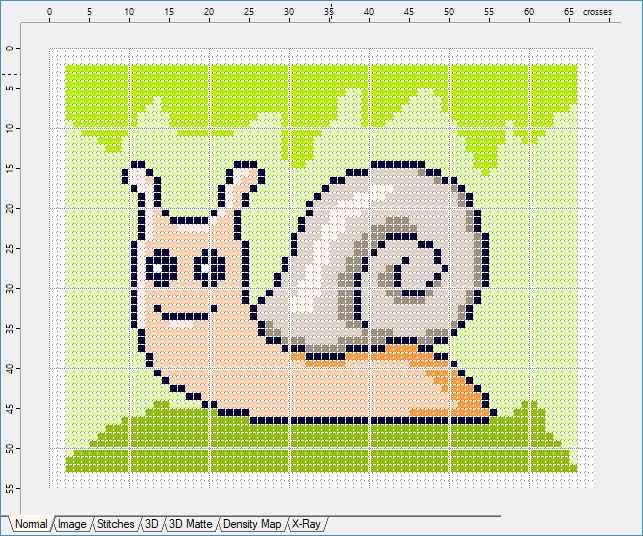
Work Area is the biggest area located in the middle of the screen (Picture No. 1). You create the cross stitch design either manually (by putting the crosses into a grid and drawing the outlines using various tools from Design Toolbar), or automatically from background image (see more in Embird Cross Stitch - Set Size of Image tutorial). When the design is finished, each pixel will be compiled into cross.
If you choose some tool, e.g. Pen, the left mouse button will paint with Cross Color 1 and the right mouse button will paint with Cross Color 2. You can change these colors in Design Toolbar.
The tools for creating outlines (back stitch lines) will paint with Outline Color. You can change this color in Design Toolbar.
Normally, the color of Work Area is white. You can change the Background Color in Design Toolbar.
Use "View > Zoom In" and "View > Zoom Out" commands to change the view size.
Around the Work Area are the Rulers - you can switch them ON/OFF via "View > Rulers" menu.
Use "Image > Import" command if you want to put some image into the background of Work Area. To show/hide the background image use "View > Image or Chart" menu.
Use "Chart > Import" command if you want to put an aligned cross chart into the background of Work Area. To show/hide the background image use "View > Image or Chart" menu. Find more details about importing chart in Embird Cross Stitch - Importing Chart tutorial.
1. Work Area
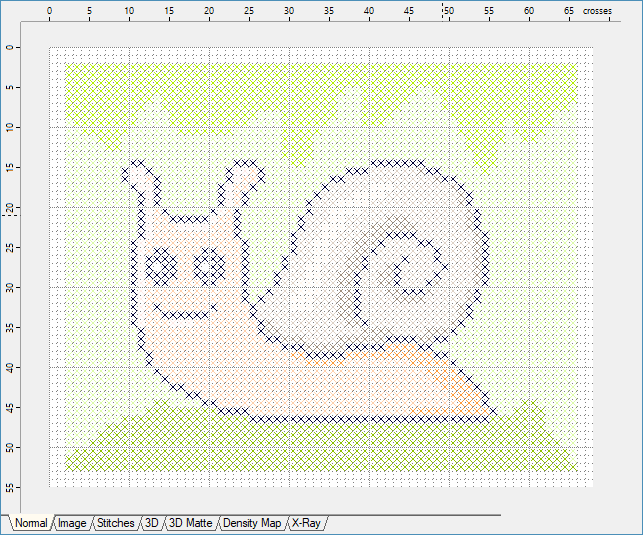
Set the option "View > Crosses As Squares" to ON if you prefer displaying of squares instead of crosses in Work Area (Picture No.2).
The emphasizing of the ten square grid can be disabled by setting the "View > Grid" option to OFF.
2. View Crosses as Squares