
Navigate
Products
Download
eShop
Upgrade
About
Training
Support

Navigate
Products
Download
eShop
Upgrade
About
Training
Support
1 - Run Embird.
2 - Click "Editor" menu to switch to Editor window.
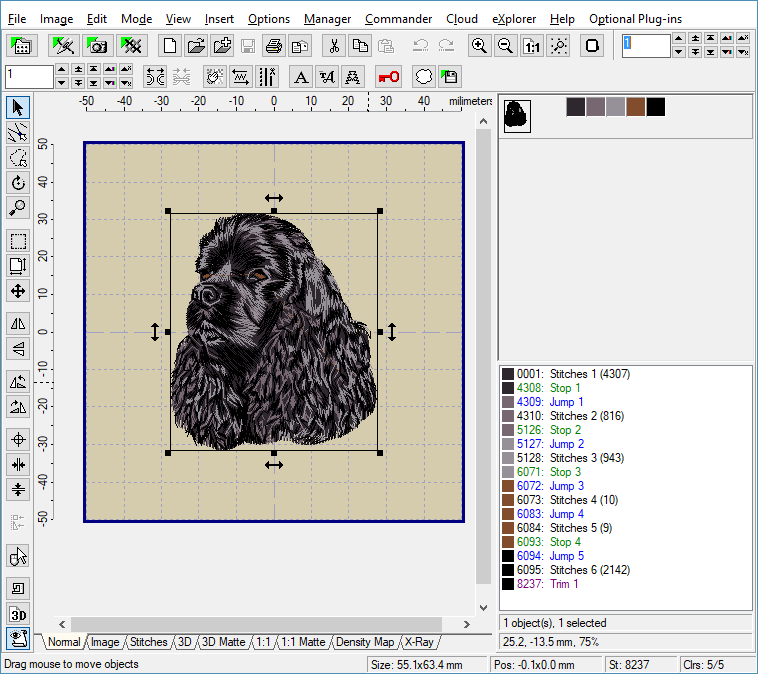
3 - Select "File > Open" menu to open the first design (Picture No. 1).
1. Open the first design
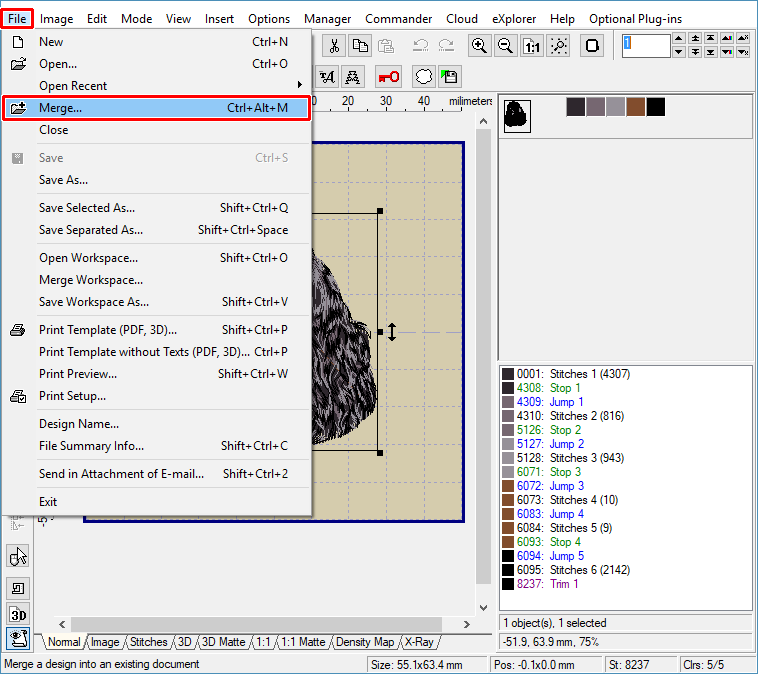
4 - Click "File > Merge" menu to open another design (Picture No. 2).
2. Select "File > Merge" menu
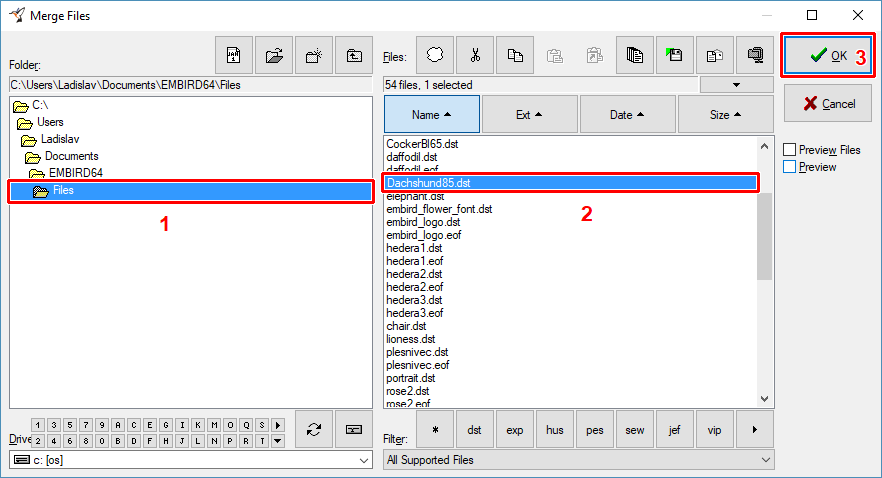
5 - Choose the second design and merge it into Editor by clicking "OK" button (Picture No. 3).
3. Open the second design
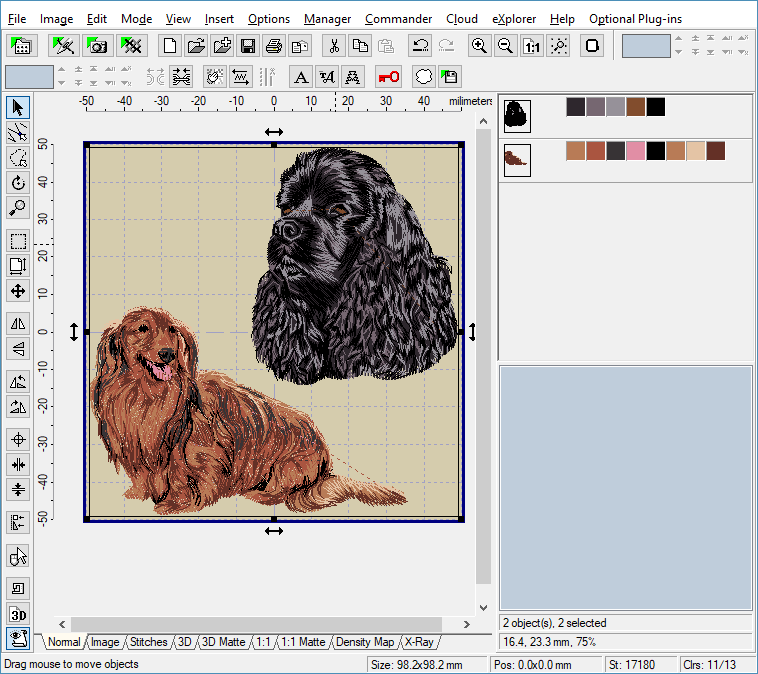
6 - Move both designs to the suitable position by using these steps: Position mouse pointer over the design, click left mouse button to select it and hold down the left mouse button while moving mouse to move the design to the new position. Release the left mouse button (Picture No. 4)
4. Move designs to suitable position
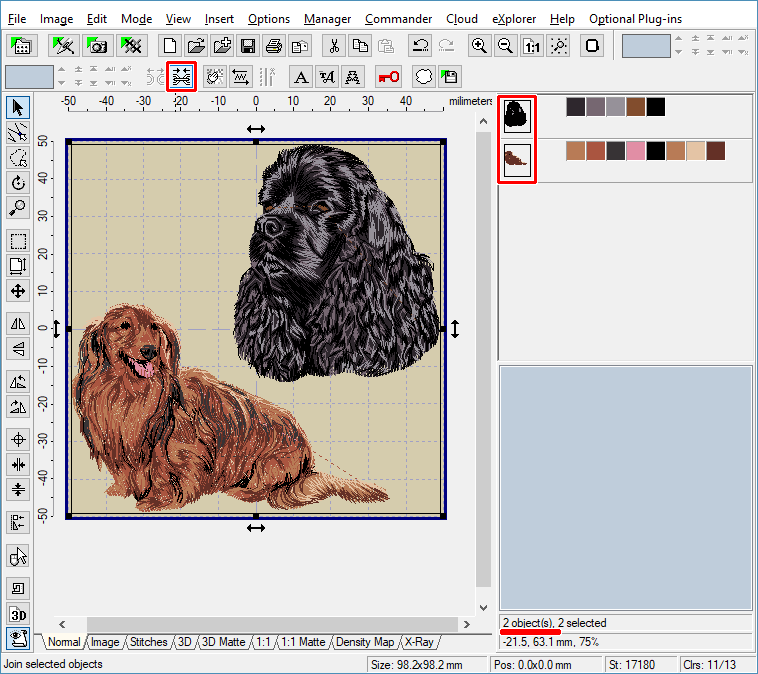
7 - Select both designs for joining: Depress "Ctrl" button and click left mouse button over designs, or use "Edit > Select All" menu.
8 - Click "Join" button to join selected designs (Picture No. 5).
5. Join selected designs
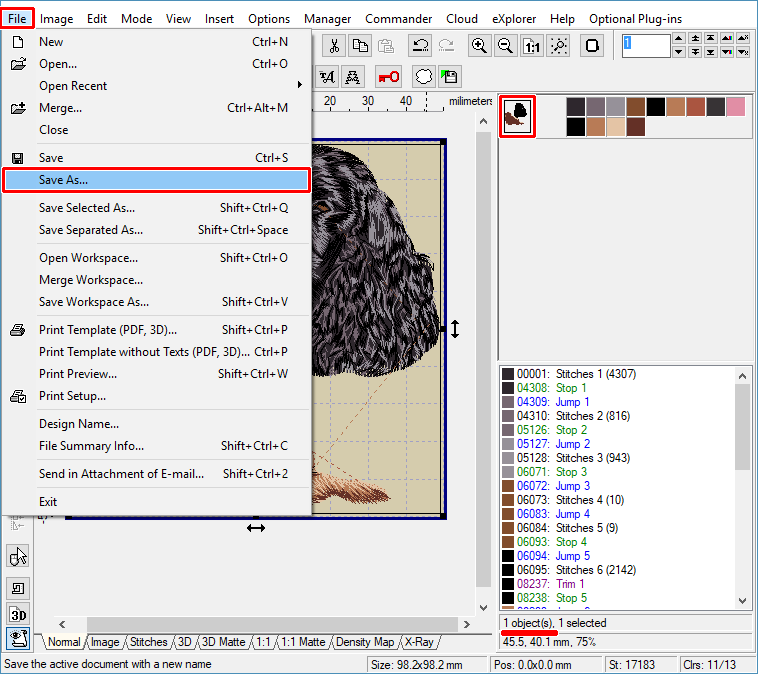
9 - Select "File > Save As" menu to save the joined design to a file on your hard disk (Picture No. 6).
6. Select "File > Save As" menu
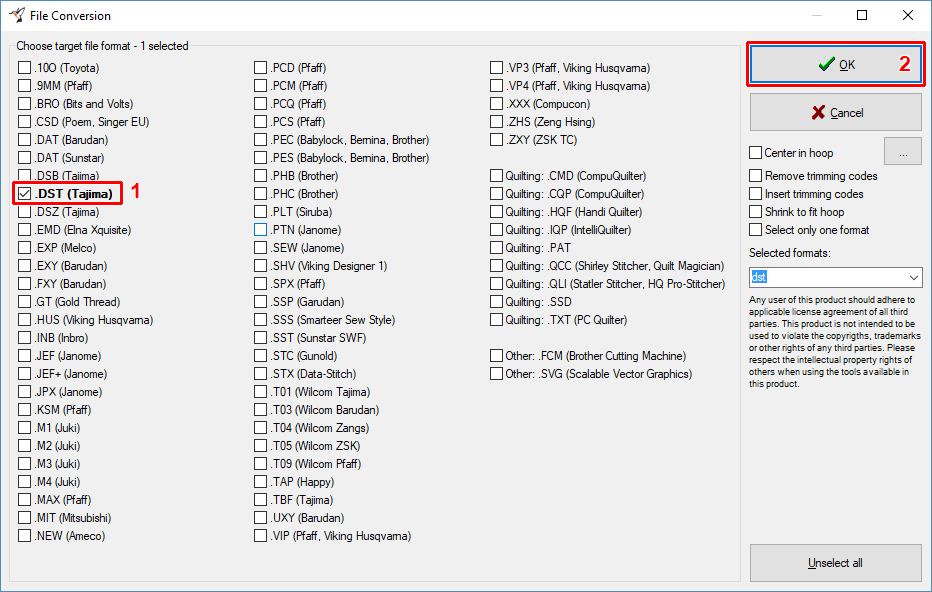
10 - Choose the target file format in the dialog box which appears on the screen (Picture No. 8). Click "OK" button to continue.
7. Choose target file format(s)
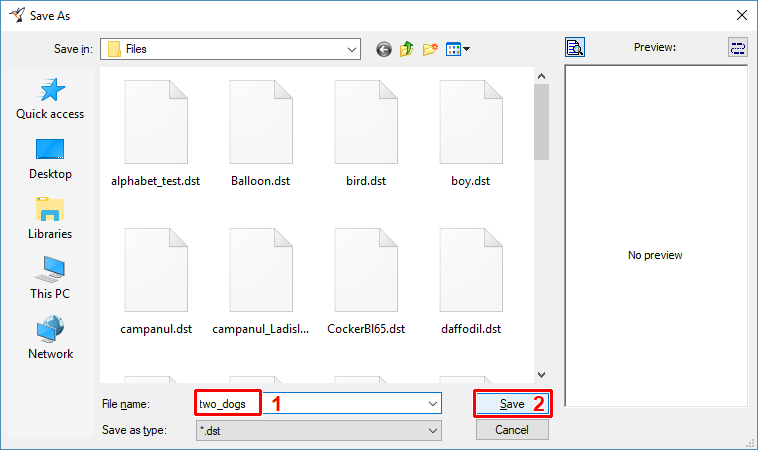
11 - Choose the drive, folder and file name of the design being saved (Picture No. 8). Click "Save" button to continue.
8. Specify target file name and location
12 - When finished, use "File > Exit" menu to exit Editor.