Navigate
Products
Download
eShop
Upgrade
About
Training
Support

Navigate
Products
Download
eShop
Upgrade
About
Training
Support
1 - Run Embird and click "Editor" menu to switch to Editor window.
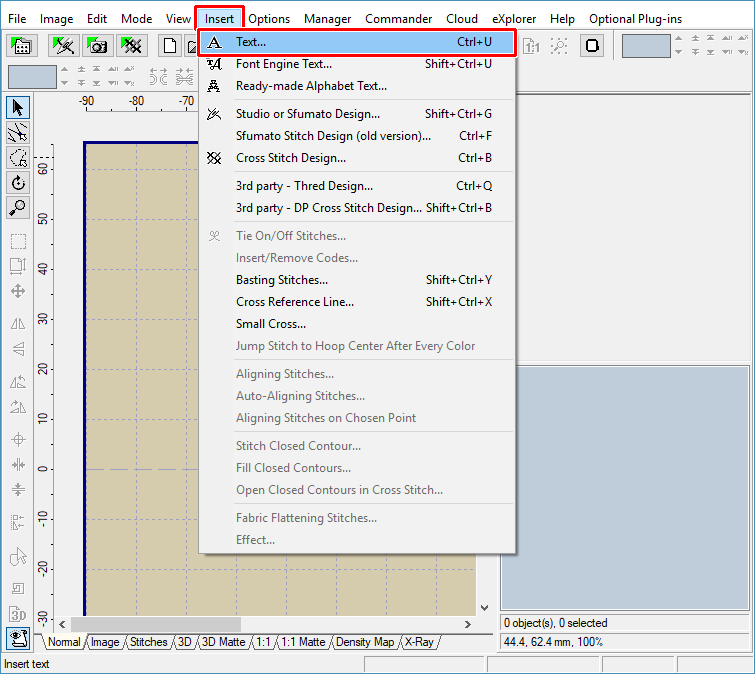
2 - Select "Insert > Text" menu or "Insert > Font Engine Text" menu (Picture No. 1).
1. Select "Insert > Text" menu
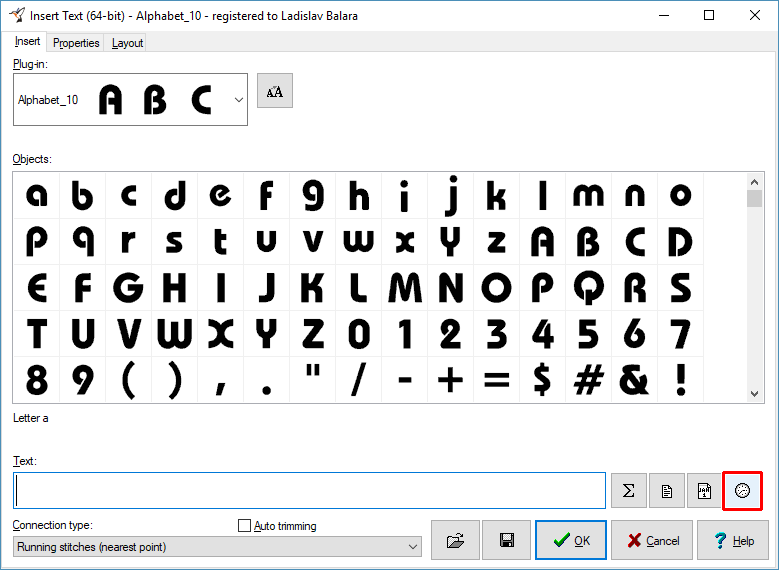
3 - The "Insert Text" dialog box will appear on the screen. In the "Plug-in" box choose the alphabet which will be used for clock characters.
4 - Click "Insert Clock" button located at the right side of the "Text" box (Picture No. 2).
2. Click "Insert Clock" button
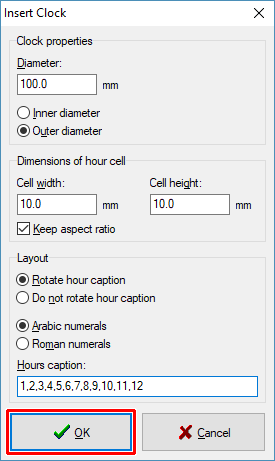
5 - The "Insert Clock" dialog box will appear on the screen (Picture No. 3). Choose the type of clock, prescribe the inner or outer diameter and specify the maximum width and height of the "hour" cell. Finally, hit "OK" button to create the clock.
3. Modify clock properties
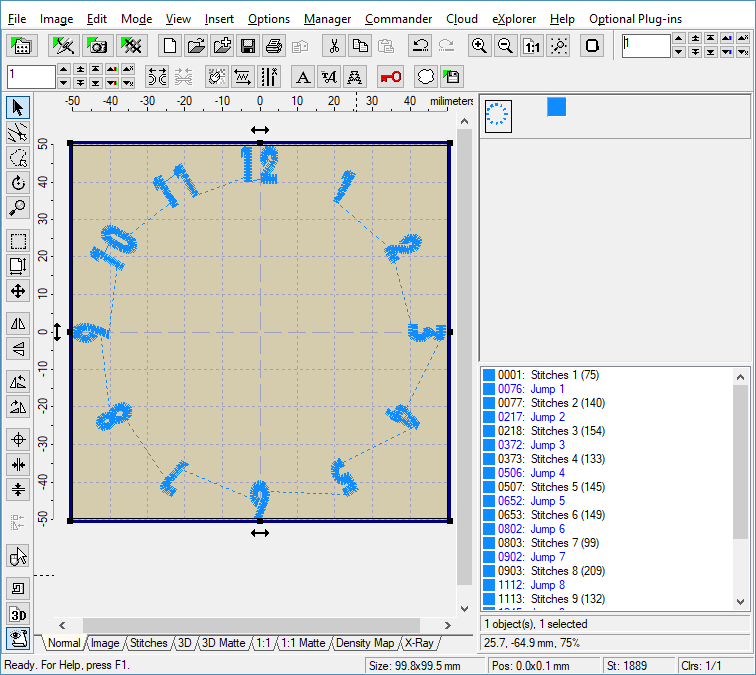
6 - Embird will create the clock using the chosen alphabet. After a while, the complete design will be inserted into the Editor window (Picture No.4).
7 - Use "File > Save As" command to save the whole design to a file on your disk. Specify the format and the file name of the new design in the dialog boxes which appear on the screen.
4. Clock inserted to Editor window